

Building a workshop table is one of the most practical and rewarding projects for any DIY enthusiast or craftsman. Whether you’re a seasoned woodworker or just setting up your first garage workspace, a custom-built table provides the stability, surface area, and storage you need to work efficiently. In the USA, where home workshops are a staple of suburban garages and backyard sheds, crafting your own table ensures it fits your tools, space, and workflow perfectly.
This comprehensive guide fuses practical knowledge from woodworkers, hobbyists, and tradespeople across North America to provide you with a robust plan—from concept to construction—geared for both function and longevity. Whether you’re a seasoned pro or weekend artisan, this article equips you with the insights to build a table that reflects the strength of your craft.
Designing and Building a Workshop Table That Matches Your Workflow
Building a workshop table starts with understanding your workspace and the type of projects you’ll tackle. A well-designed table isn’t just a surface—it’s a command center for your tools, materials, and creativity. Before you cut a single board, take time to plan your layout, dimensions, and features.
Define the Purpose and Functionality
Start by identifying your primary use case:
- Woodworking: Requires a thick, stable top with dog holes and clamping options.
- Metalwork: Needs a heat-resistant surface and grounding for safety.
- Crafts or electronics: Benefits from a clean, non-conductive surface and integrated lighting.
Each function demands different features. For example, a woodworking bench may include a vise and bench dogs, while a crafting table might prioritize drawers and pegboard panels.
Measure Your Space and Movement Zones
A common mistake is building a table that’s too large for the room. Use masking tape to outline the footprint and ensure at least 36 inches of clearance on all sides. If your space is tight, consider a fold-down wall-mounted design or a mobile table with locking casters.
Choose a Comfortable Working Height
Standard table height ranges from 34 to 38 inches. For standing tasks like sanding or assembly, aim for 36–39 inches. For seated work, 30–32 inches is ideal. Taller users may benefit from adjustable legs or risers.
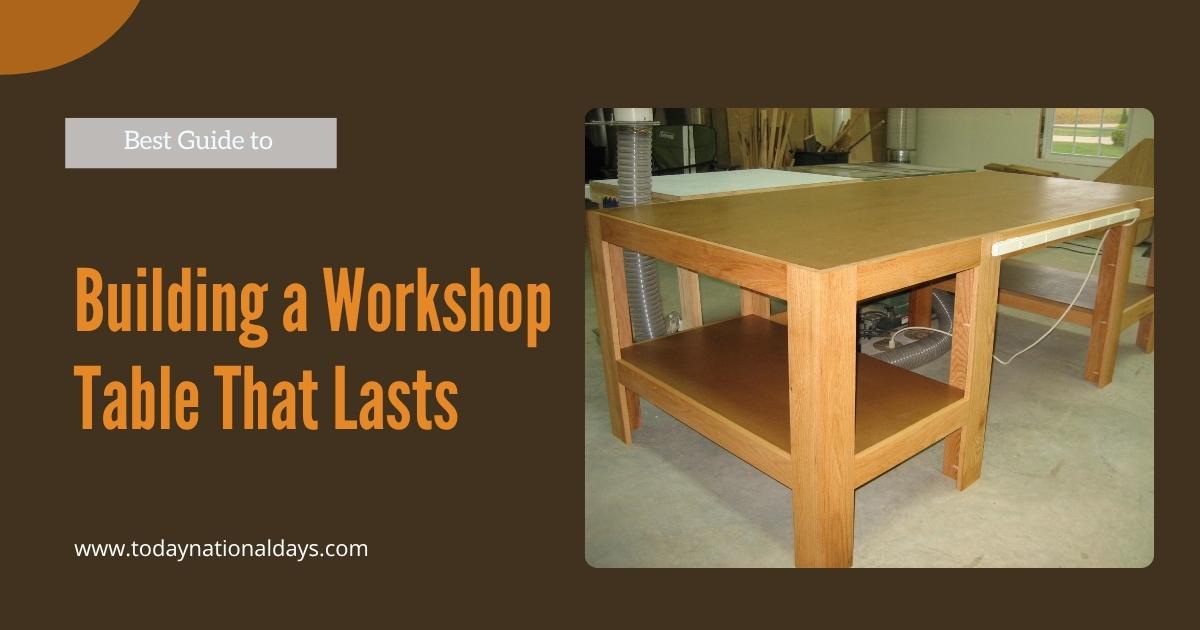
Selecting Materials That Withstand Time and Torque
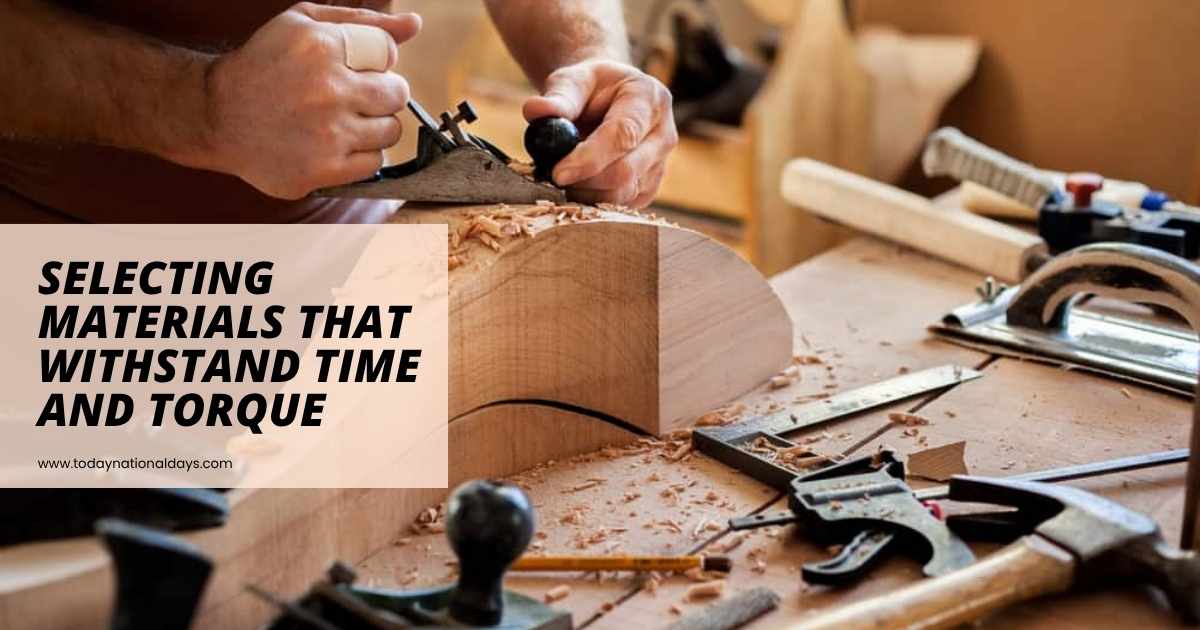
The materials you choose will determine how well your table performs under pressure. Durability, cost, and ease of assembly all factor into your decision.
Frame and Leg Materials
- 2×4 or 4×4 kiln-dried lumber: Ideal for the frame and legs. Avoid warped or twisted boards.
- Laminated beams: Offer superior strength for heavy-duty applications.
- Reclaimed wood: Eco-friendly and budget-conscious, but requires thorough inspection and sanding.
In Canada, many builders opt for locally sourced hardwoods like maple or birch for their strength and availability.
Tabletop Surface Options
- MDF (Medium-Density Fiberboard): Smooth and affordable, but vulnerable to moisture.
- Plywood (¾” exterior grade): Strong, stable, and easy to replace.
- Hardwood (oak, maple): Durable and attractive, ideal for fine woodworking.
Seal the top with polyurethane or linseed oil to protect against glue, paint, and tool marks.
Hardware and Fasteners
Use 3″ wood screws for framing and 1¼” screws for surface attachment. Reinforce joints with pocket-hole joinery or metal brackets. For mobility, choose casters rated for at least 100 lbs each.
Table Styles Compared by Function and Complexity
| Table Type | Best For | Key Features | Skill Level |
|---|---|---|---|
| Basic Workbench | General repairs, light duty | Fixed frame, MDF top | Beginner |
| Heavy-Duty Table | Woodworking, tool mounting | 4×4 legs, plywood top, lower shelf | Intermediate |
| Mobile Workstation | Shared garages, small spaces | Locking casters, foldable wings | Intermediate |
| Multi-Function Table | Assembly, routing, sanding | Dog holes, clamp rails, power strip | Advanced |
| Wall-Mounted Fold-Down | Ultra-compact workshops | Hinged top, wall cleats | Beginner |
This table helps match your needs with the right design. Whether you’re building a rugged bench for heavy tools or a compact fold-down table for a tight garage, there’s a plan that fits your workflow.
Step-by-Step Construction Process for a Reliable Table
Building a workshop table requires precision and patience. Follow these steps to ensure a square, level, and sturdy result.
Cut and Prepare Lumber
- Measure and mark all cuts before starting.
- Label each piece to avoid confusion during assembly.
- Sand edges lightly to remove splinters.
Assemble the Frame and Legs
- Build the rectangular base using 2x4s or 4x4s.
- Use clamps and a square to ensure 90° corners.
- Add cross braces or stretchers for lateral support.
Attach legs to the inside corners of the frame using lag screws or pocket-hole joinery. Check for wobble and adjust as needed.
Install the Top and Finishing Touches
- Center the top on the frame and clamp in place.
- Screw from underneath to avoid visible fasteners.
- Add a perimeter apron for aesthetics and strength.
- Apply a protective finish and install accessories like vises or power strips.
Storage Features That Maximize Efficiency

A cluttered workspace slows you down. Integrate storage into your table to keep tools within reach and your surface clear.
Under-Table Storage Options
- Drawers: Use full-extension slides for easy access.
- Shelves: Store power tools, clamps, and bins.
- Rolling carts: Nest under the table and pull out when needed.
Vertical and Side Storage
- Pegboards: Mount to the back or sides for hanging tools.
- Magnetic strips: Hold metal tools like chisels and screwdrivers.
- French cleats: Modular system for adjustable tool holders.
In Australia, many DIYers repurpose kitchen drawers or filing cabinets to create budget-friendly under-table storage.
Maintenance Tips to Keep Your Table in Prime Condition
A well-built table can last decades with proper care. Here’s how to keep it in top shape:
Monthly Checkups
- Tighten screws and bolts.
- Check for wobble or sagging.
- Re-level casters or feet if needed.
Surface Protection
- Reapply finish annually.
- Use a sacrificial MDF layer if you do a lot of cutting or gluing.
- Avoid placing the table near damp walls or windows.
In humid regions like parts of the UK, storing silica gel packets under the table can help prevent moisture damage.
Conclusion: Build a Table That Builds Your Craft
Building a workshop table is more than a project—it’s a commitment to your craft. A solid, well-designed table supports your tools, your workflow, and your creativity. Whether you’re in the USA, UK, Canada, or Australia, the principles remain the same: plan with purpose, build with care, and adapt your design to your space and needs.
From basic benches to multi-functional workstations, the right table transforms your workshop into a place of productivity and pride. So grab your tools, sketch your plan, and start building the table that will support every project to come.